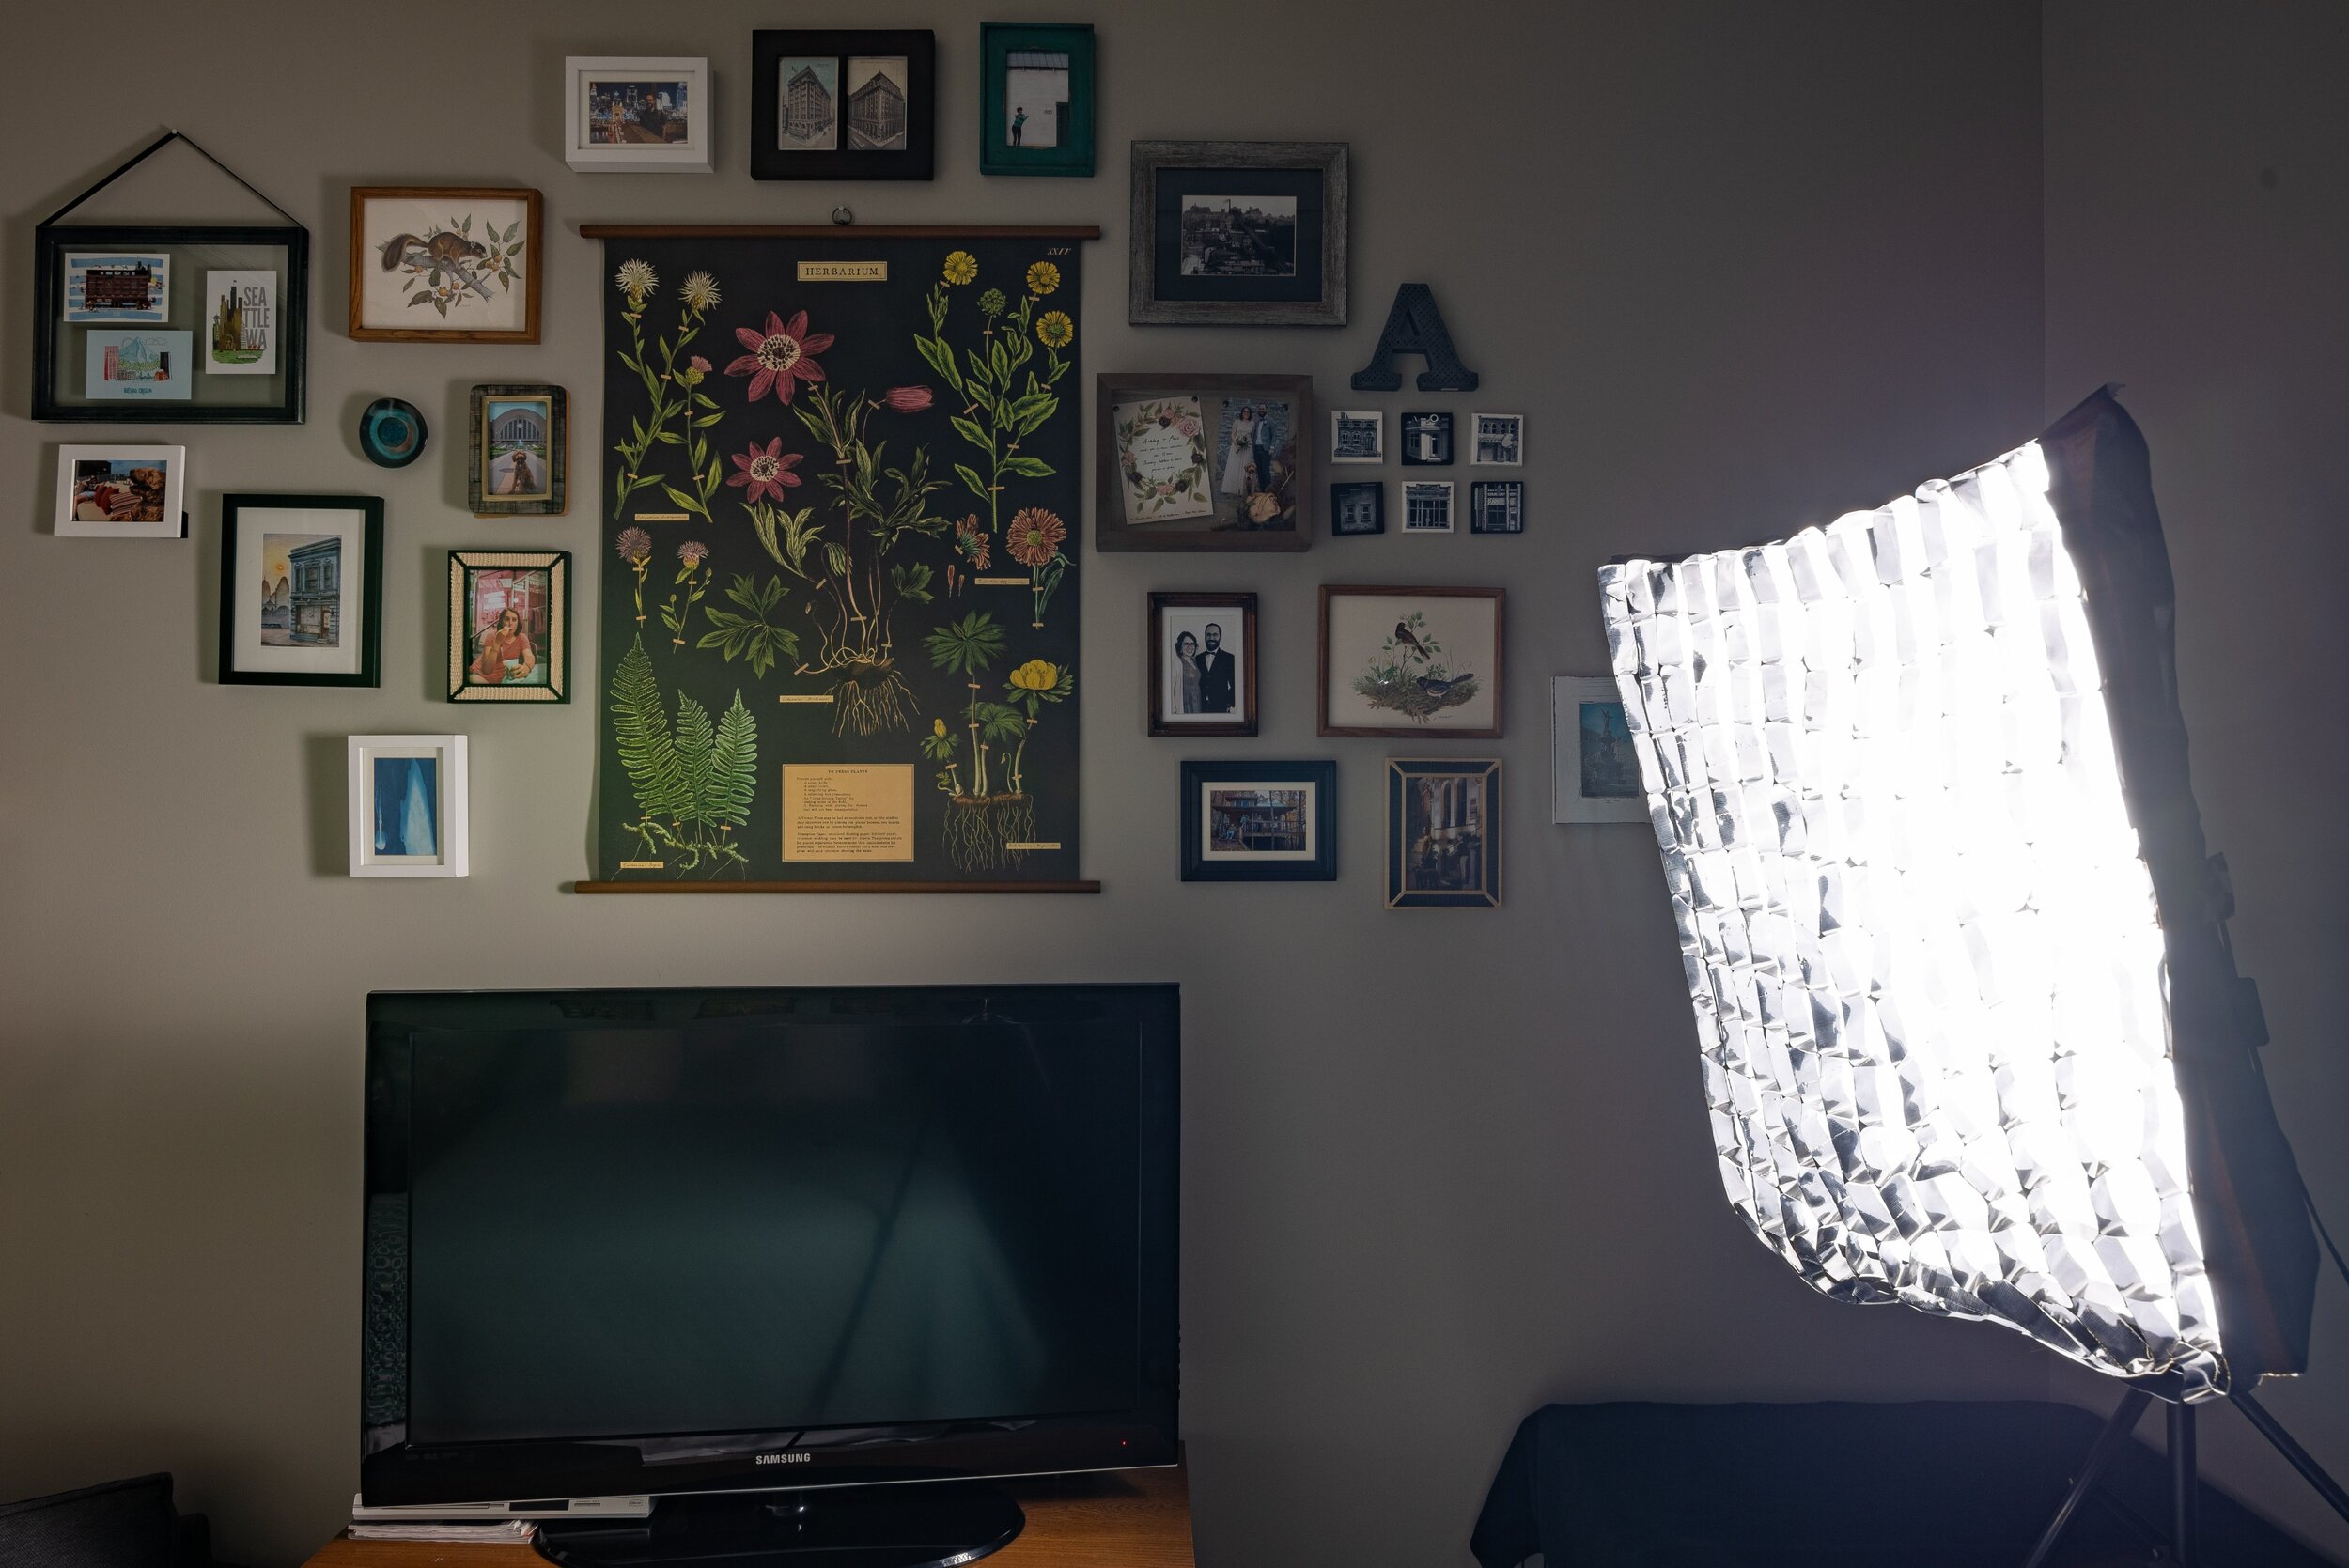
About a month and a half ago, we found ourselves relegated to our apartment without an expiration date on a government-mandated shelter at home order. As I write this, there is no end in sight to when it will be safe to go back out into the world without a mask, to see friends and family, or to live the way we used to without fear of contracting a deadly disease. As such, I have been focusing on trying to better myself in key areas of photography and creativity that I would otherwise be too distracted to pursue.
One night, Ashley presented me with the task of recording her for a video her local gym was putting together. All we needed to do was to set up the camera and record her speaking a few lines and send that video to the gym owner. Seizing an opportunity to flex my creative lighting muscle, I created a whole scene using various lights based on an online tutorial I saw the previous week. After the video clip was created, I was pleased with how it turned out.
Note the shirt draped over the studio light.
An issue I had while setting up the lights, however, was significant bleeding from the continuous lighting system that I purchased years ago. There is no doubt the system is cheap and, as such, doesn't afford me the ability to do all the things I want to do the way I want to do them. To get around this, I draped a shirt over the light to cut the intensity and reduce the bleed on the wall behind her.
A grid would have removed the need for using a shirt. However, there seems to be no purchasable grid for the lights I have. They're a unique size that isn't standardized, making it impossible to buy something for them. With grids ranging in price that often exceeds $100 and their unavailability in the size I needed, I resolved to make my own.
Using a YouTube tutorial, I got a roll of black duct tape for $12 from the hardware store and first outlined the perimeter of the light on the counter. This outline served as my reference area.
Next, I got a book that was about 6.5 inches in length. The book would be the standard used to measure how much tape I'd need for each loop. Tearing off a piece of tape the length of the book, I then split it down the middle to reduce its width, doubling the available roll. Then, I folded the light side (sticky side) of the tape back onto itself, creating a loop. With every loop I made, I added it to the previous one, building a chain the length of the outline on the counter.
A piece of tape was placed between each row for stability. I ended up making 12 rows of loops in all to make the grid, which took about three hours to complete from start to finish.
The process was difficult, I won't lie. Trying to align everything was tough because of the stickiness of the tape and the fatigue my hands felt after touching all that adhesive for so long. But, in the end, I had a custom grid the size of the light I had, and instead of spending $130 for it, I spent $12 and three hours.
To affix it to the light itself, I taped it directly to the cheap diffuser that's made to velcro to the light frame. Taping it to the diffuser also created a seal to prevent further light bleed. Below is a without/with example of how the grid works to direct the light. Notice the hard line of light on the wall in the first photo (without the grid) and how that line totally disappears after the grid is applied in the second photo.
To further illustrate how the grid narrows the cone of light, I used the floor to visualize it with and without the grid.
The whole point of this was to 1) satisfy a photographic need while 2) saving money and 3) staying busy at home while the world is on lockdown. Though I don't think I want to do this again, it was a great learning experience and produced a useful tool I can use later.


